
Last updated November 17, 2026
 Driveway & pavers
 Kitchen remodeling
 Bathroom remodeling
 Home additions & ADU
 Roofing
 Windows & doors
 Fence
Free written scope consultation - allowances, timeline, and change-order rules on paper before a single trade is scheduled
Driveway & Pavers Maintenance Checklist for Antioch Homeowners
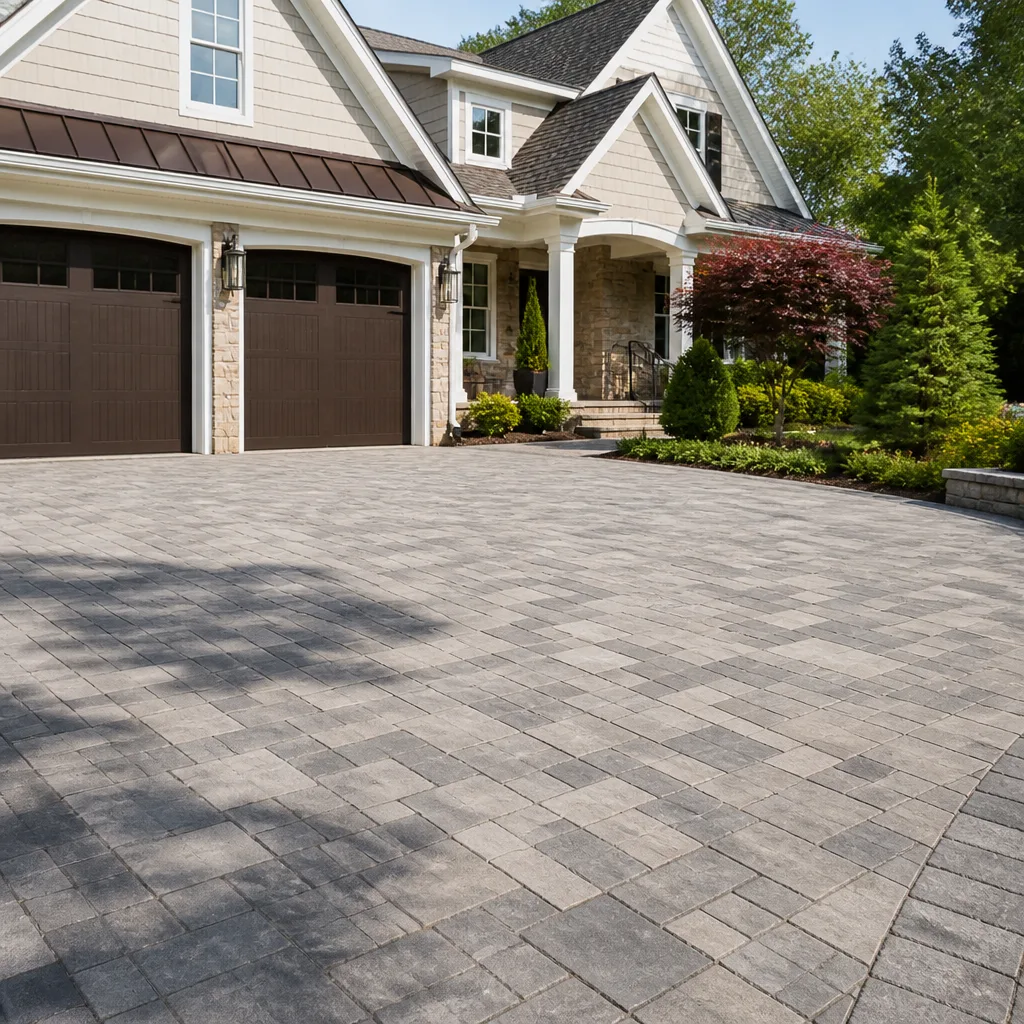
A paver driveway that looks perfect in April can show edge displacement, efflorescence, and joint sand washout by October in Antioch. That’s not poor installation. It’s what happens when a maintenance schedule written for a milder climate skips the two inspections that actually matter here. Antioch sits on clay-heavy subsoil, which swells and shrinks with the seasons and moves paver bedding sand in ways a concrete slab never experiences. Summer heat above 95°F also changes how polymeric sand cures and when sealing does more harm than good. This guide gives you a climate-calibrated checklist for Antioch, season by season, so you can catch small problems at the cheapest stage to fix them.
Quick Answer
Paver driveway maintenance in Antioch comes down to two non-negotiable inspections: a post-winter base check in early spring, and a joint re-sand in late September before the first rain. Most paver failure in Antioch traces back to clay soil heave loosening bedding sand and joints going unsealed through the wet season, not to bad pavers or bad installation. Keep joints full, keep water draining off the surface, and address efflorescence early.
Styles & brands we work with
- Kitchen remodeling
- Bathroom remodeling
- Home additions & ADU
- Roofing
- Windows & doors
- Driveway & pavers
- Fence
Table of Contents
- Why Antioch’s Clay Soil Changes Everything
- Season-by-Season Maintenance Checklist
- Understanding Seasonal Heave and Bedding Sand
- Efflorescence: Cosmetic or a Warning Sign?
- Re-Sanding Joints: The Late September Window
- Sealing and Summer Heat Above 95°F
- Drainage, Edges, and Grading
- Repair or Replace? How to Decide
Why Antioch’s Clay Soil Changes Everything
Most national paver maintenance advice assumes sandy or gravelly subsoil where water drains straight through. Antioch’s clay-heavy subsoil behaves in the opposite way. Clay holds water, expands when it’s wet, and shrinks as it dries. Over a season, that cycle places repeated stress on the paver base and the bedding sand layer underneath the surface.
What does that stress look like at the surface?
- Pavers along the driveway edge begin to tilt or ride up.
- Joint sand migrates out of the seams faster than it would on a sand base.
- Small depressions form where water pools after rain.
- Individual pavers rock slightly when you walk on them.
The pattern is different from concrete, which tends to crack in a line when the base moves. Pavers are flexible, so they redistribute stress across the whole field. That’s an advantage, but only if the joints stay filled. When joint sand washes out, individual pavers lose their interlock, and each one becomes a lever arm pushing against its neighbors. This is why a single washed-out joint section can lead to a cluster of loose pavers within a few months.
For homeowners living along the clay benches above the San Joaquin River corridor, or on the sloping lots near the Antioch waterfront neighborhoods, the effect is amplified by runoff. Water that sheets off a slope concentrates at the low edge of a driveway and does the most joint-sand damage there. If your driveway has a low corner where water sits, that corner is your first maintenance priority every year.
Season-by-Season Maintenance Checklist
Here is the checklist we’d post inside a garage. It’s calibrated for Antioch’s climate, not a generic national schedule. Print it and work through it once each quarter.
- Spring (March-April): Post-winter base inspection. Walk the driveway, look for rocking pavers, displaced edges, and sand in the gutter that washed out over winter. Refill any low joints. Clear the base of debris from winter storm runoff.
- Late Spring (May): Efflorescence sweep. Check for white deposits after the first warm, dry stretch. Note their location and whether they recur after rain.
- Summer (June-August): Avoid sealing during heat above 95°F. Keep joint sand topped off in high-traffic areas. Watch for new depressions before they deepen.
- Late September: Re-sand all joints before the first rain. This is the single most protective dollar you’ll spend all year. Inspect drainage paths and clear any leaf or debris blockages.
- Fall (October-November): Confirm edge restraints are tight and grading still directs water away from the house and garage. Clear gutters so runoff doesn’t dump onto the driveway.
- Winter (December-February): Keep the surface clean of fallen leaves and silt. If the area gets occasional frost, avoid driving heavy loads onto a frozen surface. Note any new rocking or displacement for the spring inspection.
The two inspections that carry the most weight are the spring base check and the late September re-sand. Skip every other item on this list and keep those two, and your pavement will hold up far better than a driveway that gets an occasional power wash but never gets its joints refilled.
Understanding Seasonal Heave and Bedding Sand
Seasonal heave on a clay base isn’t dramatic. It’s a slow, small cycle that repeats every year. The clay swells slightly with winter moisture, then shrinks as spring and summer dry it out. That movement transfers upward through the base and into the bedding sand layer directly under the pavers.
Why does bedding sand matter so much?
The paver surface is only as stable as the sand layer beneath it. When bedding sand shifts or migrates into a void in the base, individual pavers lose support. On a concrete slab, a loss of sub-base support shows up as a crack you can see and patch. On pavers, the symptom is a rocker – a paver that moves slightly underfoot. A rocker left alone will eventually break its edge against a neighbor, and once an edge chips, the joint opens wider and the problem accelerates.
This is why the spring base inspection matters. If you walk the driveway after the wet season and mark the rocking pavers, you’re catching the problem before edges chip. A technician can lift the rocker, correct the bedding sand underneath, and re-set it in a fraction of the time it takes to replace a whole run of pavers that broke down over a summer.
In our experience working on Antioch driveways, the corners and edges near where water concentrates are where the first rockers appear. Check the transition where a driveway meets the street apron, and the outer edges where water runs off. That’s where the clay heave does the most visible work.
Efflorescence: Cosmetic or a Warning Sign?
Not every white deposit on a paver is a problem. Some is simply cosmetic efflorescence, a natural migration of water-soluble salts to the surface as moisture evaporates. The deposits appear as a powdery film and wash off fairly easily. That kind is a nuisance, not a structural warning.
The concerning kind behaves differently. Watch for these signs:
- Recurring deposits in the same spot: Cosmetic efflorescence tends to be spread out and fades over the season. Deposits that keep returning to one narrow area after each rain point to moisture moving through a specific path.
- Crusty or hard deposits: A powdery film is cosmetic. A hard, crusty build-up that doesn’t rinse away may signal continuous moisture flow through a joint or under the edge.
- Deposits paired with loose pavers: If efflorescence appears alongside an isolated rocker or a joint that keeps washing out, moisture is likely infiltrating beneath the surface and undermining the base.
- Deposits along an edge restraint or foundation line: Water moving from under a foundation into the paver field shows up as a line of efflorescence where the two meet.
If you see the cosmetic kind, keep the joints filled and re-check after the next wet season. If you see the concerning kind, that’s a job to bring a professional in for. The right fix is diagnosing where the water is coming from, not just scrubbing the surface. Left alone, that moisture path can slowly soften the base and lead to a much larger repair. This is one of the cases where the fix is usually cheaper than the replacement – but only if caught at this stage.
Re-Sanding Joints: The Late September Window
The late September re-sand is the single most protective task on the Antioch schedule. Here’s why the timing matters so much.
Joint sand is what locks pavers together. When joints stay full, the pavement behaves as one flexible sheet. When joints empty out, each paver is on its own. Antioch’s dry summer months tend to shrink the clay base slightly and pull joint sand down into the seams. By the end of summer, joints may be noticeably lower than they were in spring. If you go into the wet season with low joints, winter rain will wash more sand out and start the loosening cycle.
The fix is straightforward if you catch it in late September, before the first rain. Refill the joints to full with the appropriate joint sand, and the pavement enters the wet season with maximum interlock. Here is the sequence a professional follows:
- Clean the surface and joints. Blow or sweep all debris out of the seams so fresh sand can settle to full depth.
- Check for loose pavers first. Any rocking paver should be re-set before re-sanding. Sanding over a loose paver just hides the problem.
- Spread joint sand across the field. Work it into the seams with a broom, keeping the surface clear.
- Compact or settle the sand. This drives material into the joints so they hold.
- Top off any low or recessed joints. Repeat until the seams are full across the whole field.
- Sweep off the excess. Leave a clean surface so the sand doesn’t wash off into the gutter on the first rain.
For a homeowner comfortable with a stiff broom and a few bags of joint sand, the top-off portion of this is a reasonable weekend task. The rocker re-setting and the deeper re-sand after a bad season is where a technician saves you time. Our driveway & pavers team handles both, and it’s the cheapest point in the year to have a re-sand done.
Sealing and Summer Heat Above 95°F
Sealing is often the first thing homeowners reach for, but the timing is the most important part of whether it helps or hurts.
Polymeric sand has a specific cure window. It needs to cure fully before it can do its job. When the surface temperature is above 95°F during or right after installation, the sand cures too fast. It can skin over before the joints are fully settled, leaving soft or inconsistent joints that fail early. Sealing over those joints locks in the problem instead of protecting against it.
What this means practically for Antioch:
- Avoid re-sanding or sealing during a summer heat wave. Wait for a stretch with more moderate daytime temperatures.
- Late September re-sanding hits the sweet spot: temperatures are dropping but the ground is still warm enough for a proper cure.
- If you do decide to seal a paver driveway, seal after the re-sand, not before. Sealing over low joints traps the moisture problem.
- Sealers do not replace joint sand. They slow sand loss, but they don’t stop it. The re-sanding is still the primary task.
Another consideration: a sealer on a paver driveway can make the surface slicker when wet. On a steep Antioch driveway, that matters. If your driveway pitches toward the garage or street, we often advise skipping the sealer entirely and just keeping the joints full. The interlock from good joint sand is doing most of the work anyway. Some paver lines from brands like Techo-Bloc and Belgard come with their own surface characteristics that change the sealing recommendation, and it’s worth asking before assuming a sealer is the right call.
Drainage, Edges, and Grading
Driveway problems usually start at the edges and in the drainage paths. A paver field is a system, and the two failure points that cause the most expensive repairs are edge restraint and grading.
Edge restraints are the border that holds the outer pavers from spreading. When they loosen, the whole field can shift outward. Walk your driveway edges and check for any gap between the edge restraint and the pavers. If you can slide a finger into the gap, the restraint is loose and the field is under stress. That’s a professional repair, and it’s much cheaper done as a small fix than after a year of the pavers spreading.
Grading is about where water goes. On an Antioch driveway, that means:
- Surface slope: Water should sheet off toward the street or a drainage point, not sit in a low spot.
- Garage threshold: The driveway should slope away from the garage door, not toward it. A low lip at the threshold is a warning sign.
- Adjoining landscaping: If soil beds sit higher than the driveway edge, water will run off the beds and into the paver base. That’s a common cause of the recurring efflorescence we mentioned earlier.
- Downspout routing: Roof runoff routed onto a driveway is one of the fastest ways to erode joint sand. Redirect downspouts away from the pavement and onto landscaping or a drainage swale.
If you’re adding a driveway, patio, or walkway as part of a bigger property upgrade, planning the drainage alongside a new fence installation or a backyard addition makes sense – water running off a new structure or fence line onto pavers is a common cause of premature failure. One contractor coordinating the drainage keeps it all in line.
Repair or Replace? How to Decide
The question homeowners ask most often is whether their paver driveway can be saved or needs replacing. The answer usually depends on how much of the field has lost base support.
Here’s how to think about it:
- Repair is usually the right call if: a handful of pavers rock or one edge section has spread, and most of the field is stable. A targeted repair that re-sets the loose pavers, corrects the bedding sand, and re-sands the joints costs a fraction of a full replacement.
- A larger repair is the right call if: a whole section has sunk or heaved, or a drainage problem has undermined a run of pavers along one edge. Lifting and re-setting that section restores the base and keeps the existing pavers.
- Replacement makes sense if: the base has failed across most of the driveway, or the pavers themselves are at the end of their life (crumbling, severe edge loss throughout). At that point, a replacement with new base work is the better value.
Older driveways sometimes have pavers that are brittle from years of sun and load. A technician can tell you whether the pavers themselves are salvageable before recommending a lift-and-reset.
The most important thing is not to let the problem run. A single loose paver is a weekend fix. A cluster of loose pavers after a wet winter is a repair. A driveway that has been spreading for three years is a replacement. Catching it at the right stage is the whole game. And because the fix is usually cheaper than the replacement when caught earlier, the maintenance checklist pays for itself many times over.
Common Mistakes to Avoid
- Skipping the late September re-sand because the driveway looks fine. A driveway can look fine in April and have low joints by October. The re-sand is a preventive task, not a repair. Do it before the rain even if nothing looks wrong.
- Sealing over low or soft joints. A sealer on a driveway with washed-out joints locks in moisture and can cause spalling when water trapped under the surface expands. Fix the joints first, then decide about sealing.
- Re-sanding in summer heat. Polymeric sand applied during a heat wave above 95°F can skin over before it cures. Wait or use the appropriate joint sand for hot-weather application.
- Ignoring efflorescence that keeps returning to one spot. Recurring white deposits in a narrow line usually mean moisture is moving through a specific path. That path needs diagnosis, not just cleaning.
- Letting downspouts dump onto the driveway. Roof runoff directed onto pavers is one of the fastest ways to erode joint sand and undermine the base along the edge. Redirect it.
- Driving over a rocker for months. A paver that moves underfoot is losing edge support. Left alone, its edges chip, the joint widens, and the repair spreads.
- Assuming a concrete-slab maintenance schedule works on pavers. Concrete and pavers respond differently to clay soil movement. Paver maintenance is about the joints and the base, not the surface alone.
See the difference
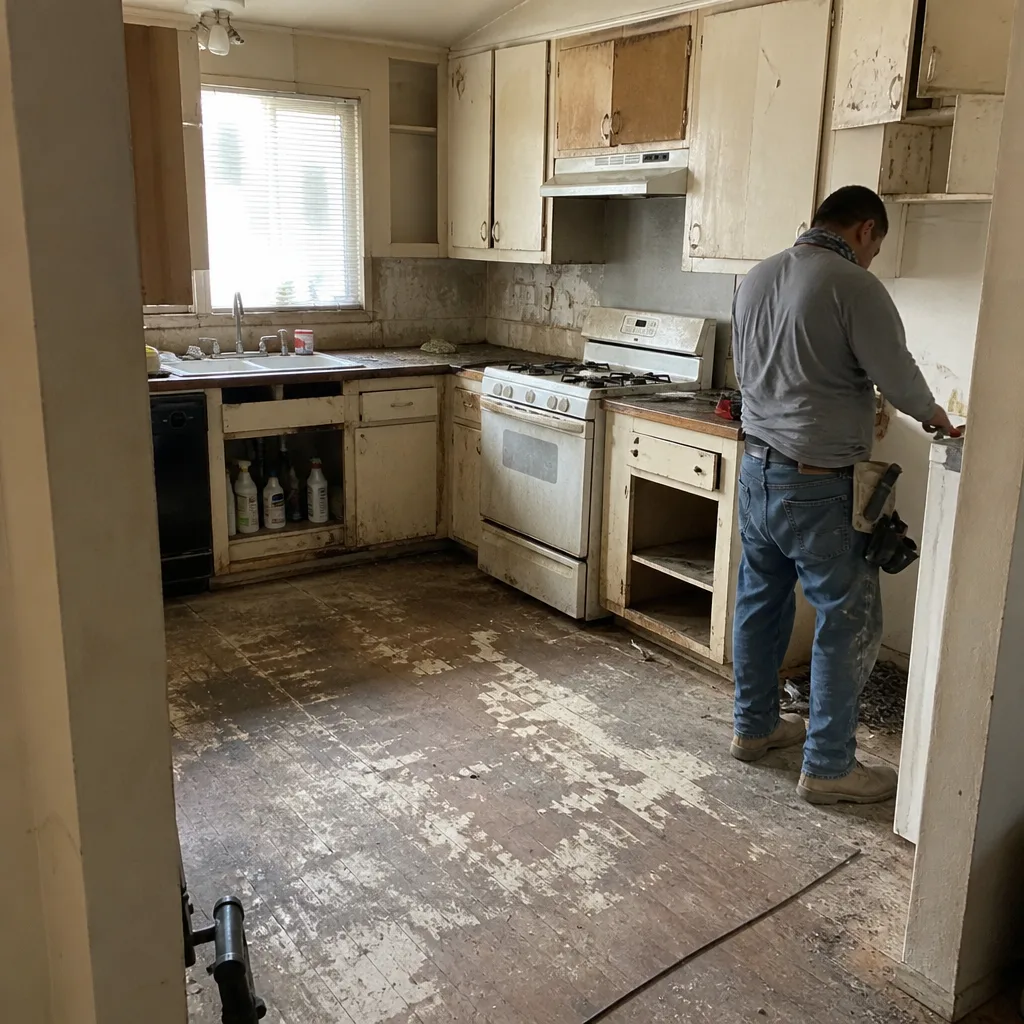 Before
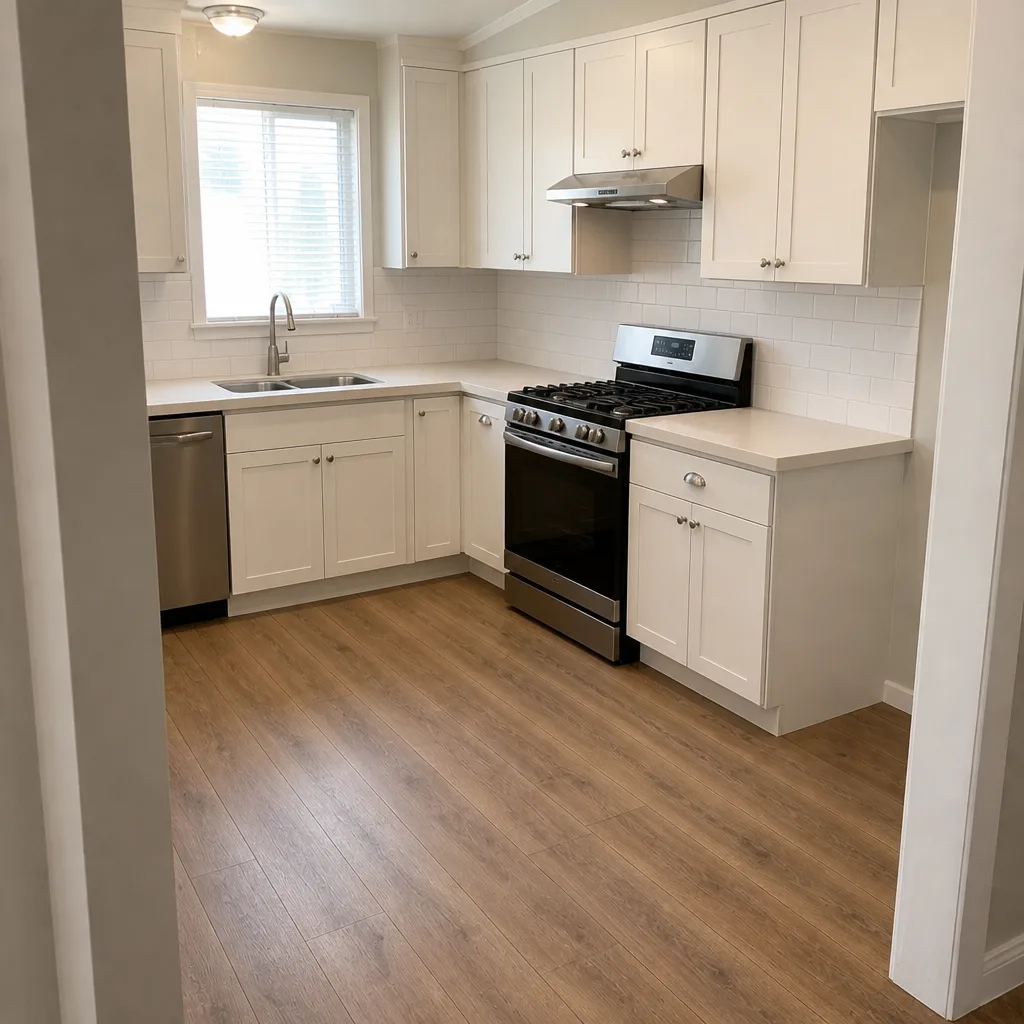 After
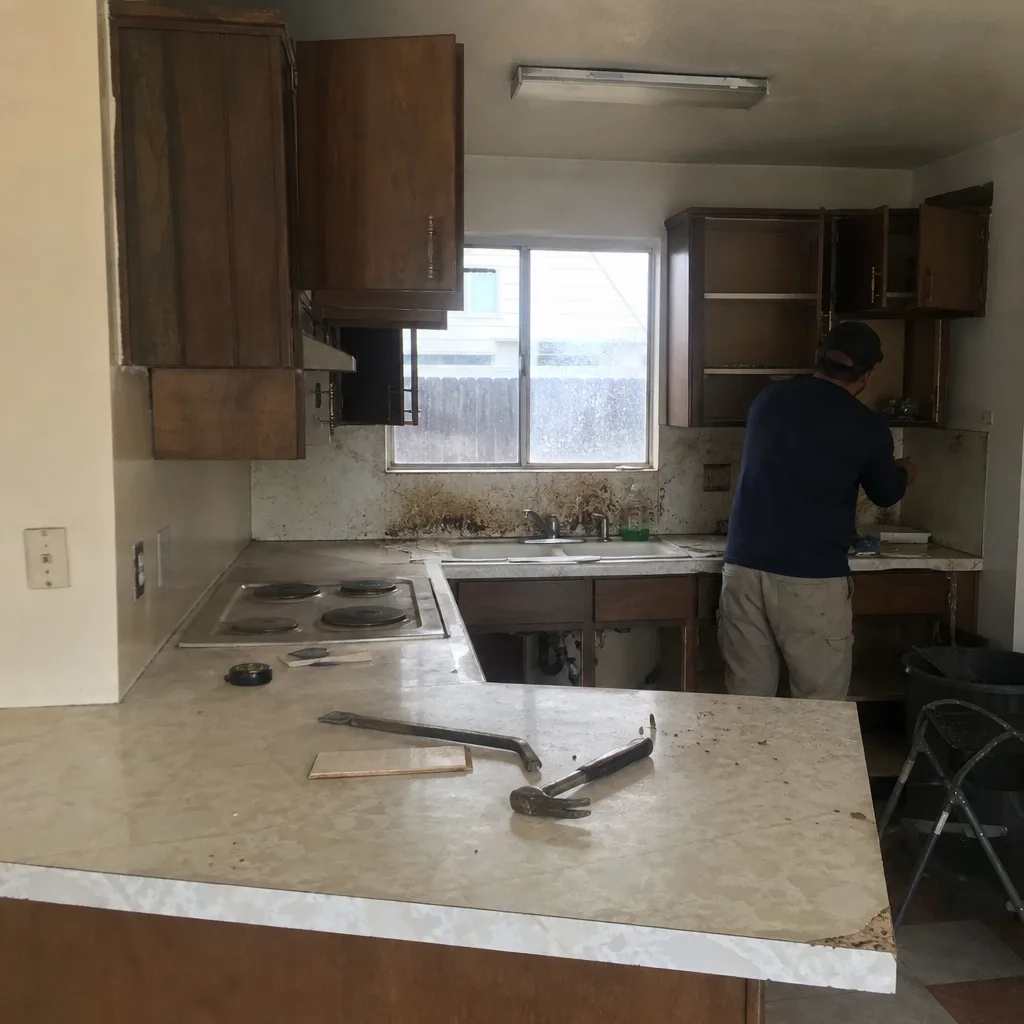 Before
 After
 Before
 After
When to Call a Professional
Some maintenance you can do yourself. Some you shouldn’t. Call a professional when the issue involves lifting pavers, correcting bedding sand, repairing edge restraints, or diagnosing recurring efflorescence. These jobs need the right tools, the right joint sand, and the experience to know whether a repair will hold or whether the base needs a bigger correction. A rocker re-set done right will last for years. A rocker re-set done poorly will be back within a season.
Construction Antioch offers free estimates in Antioch, with written line-item quotes and fixed pricing, so you know exactly what a repair or re-sand will cost before anyone starts. Our technicians have up to 13 years of experience with paver driveways, patios, and walkways, and we work with recognized paver brands like Techo-Bloc, Belgard, and Unilock so the material matches your existing surface or your budget. Call (866) 811-9694 to schedule your free estimate.
Frequently Asked Questions
The cost depends on the driveway square footage, the number of joints, and whether any pavers need re-setting first. Prices are quoted per job by a written estimate, and the estimate sets the final price. Call (866) 811-9694 for an exact quote – estimates are free.
Not always. Sealing is optional, and we often advise against it on steep driveways where a sealer can make the surface slick when wet. If you do seal, do it after a proper re-sand and avoid the 95°F summer heat window. Joint sand does most of the work, so keeping joints full matters more than sealing.
Antioch’s clay subsoil moves seasonally. Over a dry summer, joint sand migrates down and joints open up. By fall, the problem shows at the surface as loose edges and low joints. The fix is the late September re-sand, which restores interlock before winter rain does more damage.
Light, powdery white deposits that fade over a season are usually cosmetic efflorescence from naturally occurring salts migrating to the surface. Recurring deposits in one spot, or crusty hard build-up paired with loose pavers, can indicate moisture infiltrating the base and should be checked professionally.
Top-off re-sanding of a stable driveway is a reasonable weekend task with a broom and joint sand. If any pavers are rocking or the edge has spread, a professional re-set is the safer call – re-sanding over a loose paver hides the problem instead of fixing it.
Twice a year at minimum: once in early spring after the wet season, and once in late September before the first rain. If your driveway is on a slope, or your drainage routes runoff across it, check quarterly. Catching a rocker in spring is much cheaper than catching a spreading field in fall.
The Bottom Line
Paver driveways in Antioch need maintenance calibrated to clay soil and hot, dry summers. The two tasks that carry the most weight are the spring base inspection and the late September re-sand before the first rain. Keep joints full, protect the edge restraints, watch efflorescence for signs of moisture infiltration, and skip the sealer during heat above 95°F. Catch problems early and the fix is usually a targeted repair rather than a full replacement. From a paver driveway and patio to a new fence installation or a backyard home additions & ADU project, one contractor can coordinate the drainage, the paving, and the structure so the whole property stays in line. You can learn more about our full scope of work at Construction Antioch.
Call (866) 811-9694 for a free estimate on a paver inspection, repair, re-sand, or a new driveway install. We answer 24/7. Fast dispatch from 7am to 7pm, Sunday through Friday.
Written by the team at Construction Antioch.