
Last updated November 17, 2026
 Driveway & pavers
 Kitchen remodeling
 Bathroom remodeling
 Home additions & ADU
 Roofing
 Windows & doors
 Fence
Free written scope consultation - allowances, timeline, and change-order rules on paper before a single trade is scheduled
Driveway & Pavers Troubleshooting in Antioch: Common Problems and How to Fix Them
Most paver driveways in Antioch get replaced for the wrong reason. The surface looks bad, the homeowner assumes the whole thing is shot, and a crew tears out a base that was perfectly sound. The opposite happens too: a few sunken stones get lifted and reset, the actual cause gets left in the ground, and the same dip returns within a season. What separates a couple-hundred-dollar fix from a full re-do is almost never the damage you can see. It’s which of a handful of root causes produced it. This guide maps symptoms to causes so you can size the problem before anyone quotes it, and it’s written from Antioch, where the local ground and weather do specific things to pavers.
Quick Answer
Most paver driveway problems in Antioch trace back to one of five root causes: a base that was never compacted correctly, water running where it shouldn’t, failing edge restraint, joint sand that’s washed or blown out, or a material defect. Sunken pavers usually mean base or erosion, rocking pavers usually mean sand loss or shallow bedding, and cracked or separated edge stones usually mean the restraint has moved. Efflorescence alone is cosmetic; efflorescence that keeps coming back points to moisture moving through the slab or base. Diagnosing the cause first is what keeps a repair at a few hundred dollars instead of a full tear-out.
Styles & brands we work with
- Kitchen remodeling
- Bathroom remodeling
- Home additions & ADU
- Roofing
- Windows & doors
- Driveway & pavers
- Fence
Table of Contents
- The Five Root Causes Behind Almost Every Paver Problem
- Symptom-to-Cause Mapping: What Are Your Pavers Telling You?
- How Antioch’s Summers and Wet Winters Attack a Driveway
- Joint Sand Loss and Edge Restraint: The Two Failures We See Most
- Efflorescence: Cosmetic or Moisture Problem?
- DIY-Safe Repairs vs. Repairs That Require Pulling and Re-Laying
- What to Ask a Contractor Before They Touch Your Driveway
- Common Mistakes to Avoid
The Five Root Causes Behind Almost Every Paver Problem
A contractor who quotes a driveway repair before they’ve dug down to check the base layer is guessing at your expense. That sounds blunt, but it’s the single most useful rule in this guide. Almost every visible paver failure in Antioch comes back to one of five underlying conditions.
- A base that wasn’t compacted in lifts. Base rock has to go down in layers, each one compacted before the next is added. Skip the compaction or push the base too deep in one pass and it settles unevenly later. The pavers follow.
- Water running under or across the surface. If the driveway doesn’t drain away from the house and away from the edges, water finds the weakest point in the base and starts moving the fines out. Where fines go, the pavers sink.
- Failing edge restraint. The edge restraint is what holds the field of pavers tight against sideways pressure. When it lifts, shifts or cracks, the pavers along that edge spread, open their joints, and start to creep.
- Joint sand loss. The sand between pavers is a structural part of the system, not filler. It locks the stones and helps shed water. Once it’s gone, pavers rock, edges chip, and weeds get a foothold.
- A material defect. The least common, but real. Some pavers arrive from the plant with inconsistent density or a bad curing batch, and they spall or crack in a way no base fix will solve.
Notice what’s not on that list: the pavers themselves, in most cases. In our experience, bases and edges account for the vast majority of driveways that need real work. A driveway & pavers installation done right on the front end is usually the cheapest path, but when something does go wrong, the diagnosis still starts at the bottom.
Symptom-to-Cause Mapping: What Are Your Pavers Telling You?
The symptom you see on the surface maps to a specific cause underneath. Reading that map correctly is the difference between a targeted repair and an unnecessary replacement. Here’s how the common symptoms sort out.
- Sunken or dipped sections. Usually a base issue or underground erosion. If the dip is broad and gradual, suspect settling base. If it’s a narrow channel that reappears after rain, suspect water carrying material out from under the pavers.
- Rocking or loose pavers. Usually shallow bedding or lost joint sand. When an individual paver moves underfoot, there’s a void below it or the sand supporting it has migrated. Rocking spreads quickly because each flex works sand farther out of the joints.
- Cracked or separated edge pavers. Usually the edge restraint. A cracked edge stone with a widening joint next to it means the restraint has moved or failed. This is not a paver problem; it’s a containment problem.
- Weeds through the joints. Usually sand loss over time. When sand washes or blows out, the joint opens and windblown seed finds it. Persistent joint weeds almost always follow a sand-refill that was overdue.
- White or chalky haze on the surface. Usually efflorescence, which we cover separately below because it’s often harmless and occasionally isn’t.
- Chipped and spalled corners. Could be material, or could be edge stress from a spreading field. Location tells you which: chips concentrated along the perimeter point to edge restraint, chips scattered through the field point to the stone.
- Ruts or wheel tracks. Usually base failure concentrated under the wheel path, or pavers too thin for the vehicle load, compounded by saturated base during a wet stretch.
Notice how many of these point downward rather than at the surface. That’s the whole argument of this guide. Antioch driveways fail from the bottom up, so a repair that only addresses the top down is patching, not fixing.
How Antioch’s Summers and Wet Winters Attack a Driveway
Antioch’s weather is hard on pavers in two specific ways, and they work in opposite directions. Our summers push well past 100°F, and our winters are wet. Most of the failure patterns we see are shaped by the way those two seasons stress the system, and the fix depends on which stressor is active.
The heat does two things. First, it dries the joint sand hard and it gets blown or washed away faster than in a cooler climate. Second, thermal expansion puts steady pressure on the edge restraint. That contains the field, and under repeated expansion it works loose. The wet season does the rest. Water runs across the surface, gets into open joints, and works its way down to a base that might already have a weak spot. Our clay-heavy soils don’t help, because they hold water and drain slowly, which means a bad edge can let water sit against the base for a long time. Over a couple of seasons, that’s how a small edge problem becomes a sunken section.
The seasonal timing matters for repair, too. In our experience, a wetter stretch hides base problems. The ground holds moisture, the pavers still look tight, and the section seems solid underfoot. Once the summer dries it out, the same section looks sunken again. If you’ve been watching a dip come and go with the seasons, you’re watching base movement, not a surface issue. A driveway in Antioch that’s survived several cycles of that has real information under it, and a proper diagnosis reads it before anyone quotes work.
Joint Sand Loss and Edge Restraint: The Two Failures We See Most
If we had to name the two failure modes the most often, they’d be joint sand loss and edge restraint failure. They’re worth a section together because they feed each other. An open joint lets water in; water loosens the edge; a loose edge opens the joints wider; the cycle repeats. Break it once and you stop a lot of damage before it starts.
Joint sand should sit flush or just below the chamfer of the pavers. When you can see a clear gap between stones, the sand has dropped below where it needs to be. It gets there by wind, by rain runoff, by pressure washing, and by foot and tire traffic. Refilling joints is a real maintenance task, not a luxury, and a joint that’s been left open too long has usually already started the next problem.
How to check your own joints
- Walk the driveway after a dry stretch and look straight down at the joints, not at the surface. Gaps more than a few millimeters deep are the clue.
- Press a screwdriver handle gently into a joint. Sand should feel firm. Soft or empty joints need refilling.
- Look at the perimeter first. Joints open fastest along the edges, so the edge tells you what’s coming.
- Check after the first rain of the season, when the water shows you exactly where the joints are low and where the surface doesn’t drain away from the house.
Edge restraint is worth its own check. It’s usually a concealed plastic or aluminum channel, or a concrete curb along the perimeter. When it’s working, the pavers can’t spread. When it’s moved, you’ll see the outer row of pavers sitting slightly proud, a widening joint line along the edge, or the restraint itself lifting out of the ground. That’s the time to address it, because a contained field stays contained with a cheap fix, and an uncontained one starts opening joints across the surface.
Efflorescence: Cosmetic or Moisture Problem?
Efflorescence is the white, chalky film that appears on the surface of pavers, and most of the time it’s cosmetic. It happens when water moves through the pavers, dissolves natural salts, and deposits them on the surface as the water evaporates. It shows up, weathers off, and doesn’t damage the stone. That’s the version to ignore.
The version to take seriously is the one that keeps coming back to the same spot, or comes back across a whole section after every wet season. That pattern means water is actively moving through the base and pavers and there’s a moisture source feeding it. It could be the ground not draining, a low spot holding water, or water running under the driveway from upslope. No amount of cleaning will stop it while the source stays. The efflorescence is a symptom, and the real fix is drainage. This is one of the clearest examples of the guide’s main idea: clean the surface and it returns, find the water and it stops.
A practical test: if the haze fades on its own through the dry season and only reappears mildly after the first heavy rain, treat it as cosmetic and don’t spend money on it. If it’s persistent, worse in the low spots, or concentrated along one side of the driveway, have the moisture path checked before you repave or seal anything. Sealing over a moisture problem traps it, and that can push the damage into the base.
DIY-Safe Repairs vs. Repairs That Require Pulling and Re-Laying
Some paver problems are genuinely do-it-yourself tasks, and there’s no reason to pay someone for them. Others are not, and the honest line between the two comes down to whether the repair touches the base. If it’s all surface, you can handle it. If you have to get underneath, the repair requires pulling pavers and rebuilding what’s below them, and that’s a different job.
Reasonable DIY repairs
- Refilling low joints with the correct joint sand after a dry stretch.
- Pulling weeds from open joints and filling the joint properly so they don’t return.
- Spot-cleaning cosmetic efflorescence that fades on its own.
- Resetting one or two loose surface pavers where the bedding is intact and there’s no sign of base movement.
- Clearing debris from the driveway’s drainage path so water sheds away from the house.
Repairs that require pulling and re-laying sections
- Any sunken section, because the cause is under the pavers and the base has to be exposed.
- Rocking pavers that keep rocking after a sand refill, which points to a void below.
- Failed or lifted edge restraint, which needs to be re-set or replaced and the edge pavers re-laid against it.
- Ruts and wheel tracks, which usually mean the base under that path needs rebuilding.
- Any repair where the same problem has returned to the same spot more than once.
The distinction is simple. If the fix is a surface layer, try it yourself. If the fix requires understanding what’s happening under the pavers, get a proper diagnosis. And one safety note while we’re here: pavers themselves are heavy, but nothing about this work is dangerous in the way that electrical or gas work is. The risk is financial, not physical, and the risk is spending money on a repair that doesn’t address the real cause.
What to Ask a Contractor Before They Touch Your Driveway
The right question isn’t “how much to fix this.” It’s “what’s causing this, and how do you know.” A contractor who’s diagnosed the cause can answer that in plain terms. One who hasn’t will quote a fix without explaining the problem, and that’s how a homeowner pays twice. Here’s what to ask, in order.
- “What’s the root cause?” They should name one of the five causes and explain what they saw that led them there. “It’s just old” is not a diagnosis.
- “Did you check the base?” At least one inspection point should involve pulling a paver or a small sample to look at the base, the edge restraint, and the drainage path. A quote without that is a guess.
- “What’s the drainage plan?” Water is behind most paver failure. They should be able to tell you where water goes from your surface and where it’s going now.
- “Is the edge restraint being addressed?” If the edge caused or contributed to the problem, the repair has to include it, or it returns.
- “Will this fix show up on the surface, or is there a base fix?” This is the question that separates a patch from a repair. The answer tells you which you’re paying for.
A contractor worth hiring will welcome those questions. When you get a written estimate, it should itemize the work, and the estimate is what sets the final price, not the first number said on the driveway. We work with a documented roster of material brands like Belgard, Unilock and Techo-Bloc, so when a repair calls for matching pavers we can source them rather than improvise a substitute. We also handle fence installation and home additions & ADU work alongside driveways, which matters when the real fix is drainage across the property and not just the driveway itself. Our technicians have up to 13 years of experience diagnosing exactly this kind of failure, and we offer free estimates in Antioch.
Common Mistakes to Avoid
- Quoting before diagnosing. A price offered before the base and edge have been checked is almost always wrong in one direction or the other. The quote should follow the inspection, not replace it.
- Sealing over a moisture problem. Sealant locks in the water that’s causing your efflorescence and base movement. On an Antioch driveway with a wet-season dip, sealing first is the most expensive mistake on this list because it hides the evidence.
- Refilling joints with the wrong sand. The wrong material washes out again in the first rain. Joint sand has to be the right type, installed dry and compacted into the joint, or it’s a wasted weekend.
- Resetting the sunken pavers only. Re-laying the surface stones on the same failed base just buys time. If the base is the cause, that’s where the money has to go.
- Ignoring the first loose edge stone. The one cracked edge paver with a widening joint is a cheap fix right now and an expensive one after a wet winter works the field loose.
- Treating recurring efflorescence as cosmetic. The version that keeps coming back is a moisture problem. Cleaning it is fine; assuming that solved it is not.
- Not checking drainage over the whole property. Water coming from a neighbor’s grade, a downspout, or a low spot near the house doesn’t care about your driveway. Fixing the driveway without addressing the water source is a temporary fix in Antioch.
See the difference
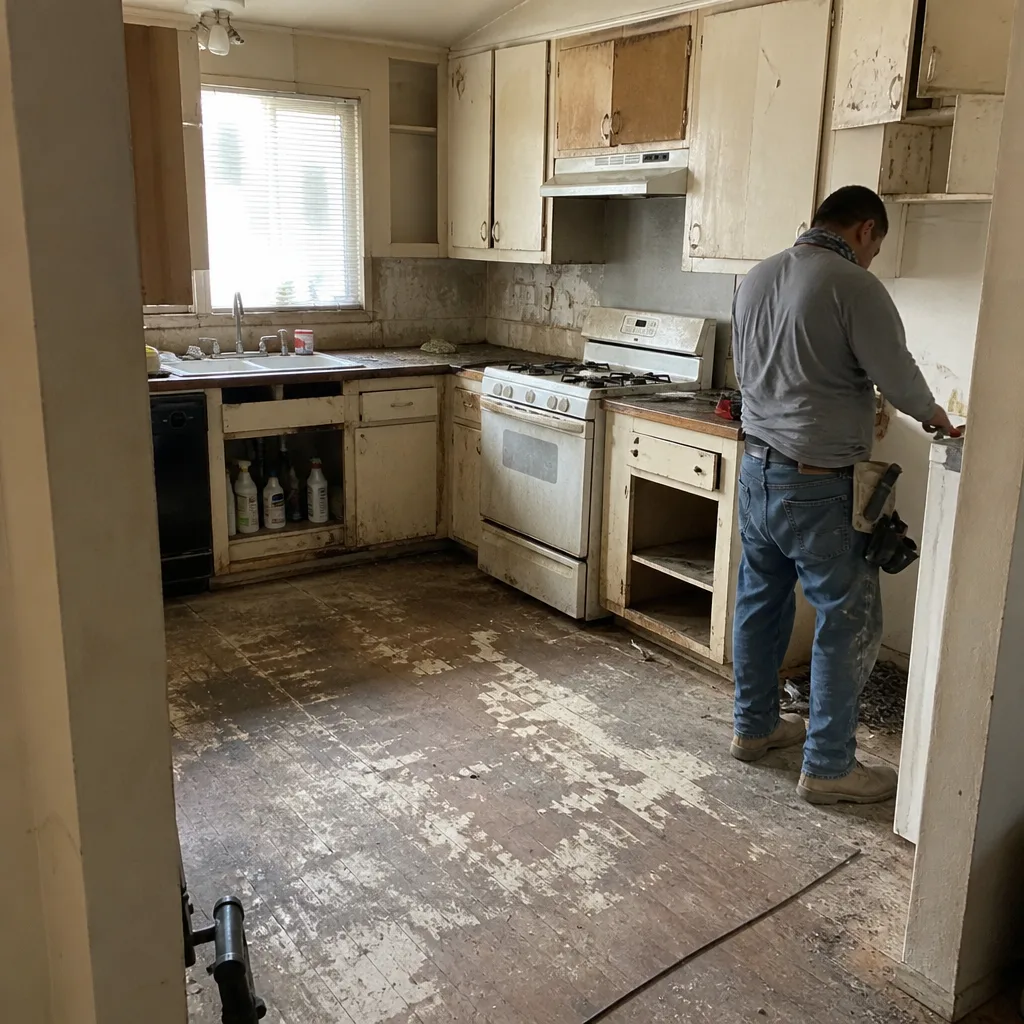 Before
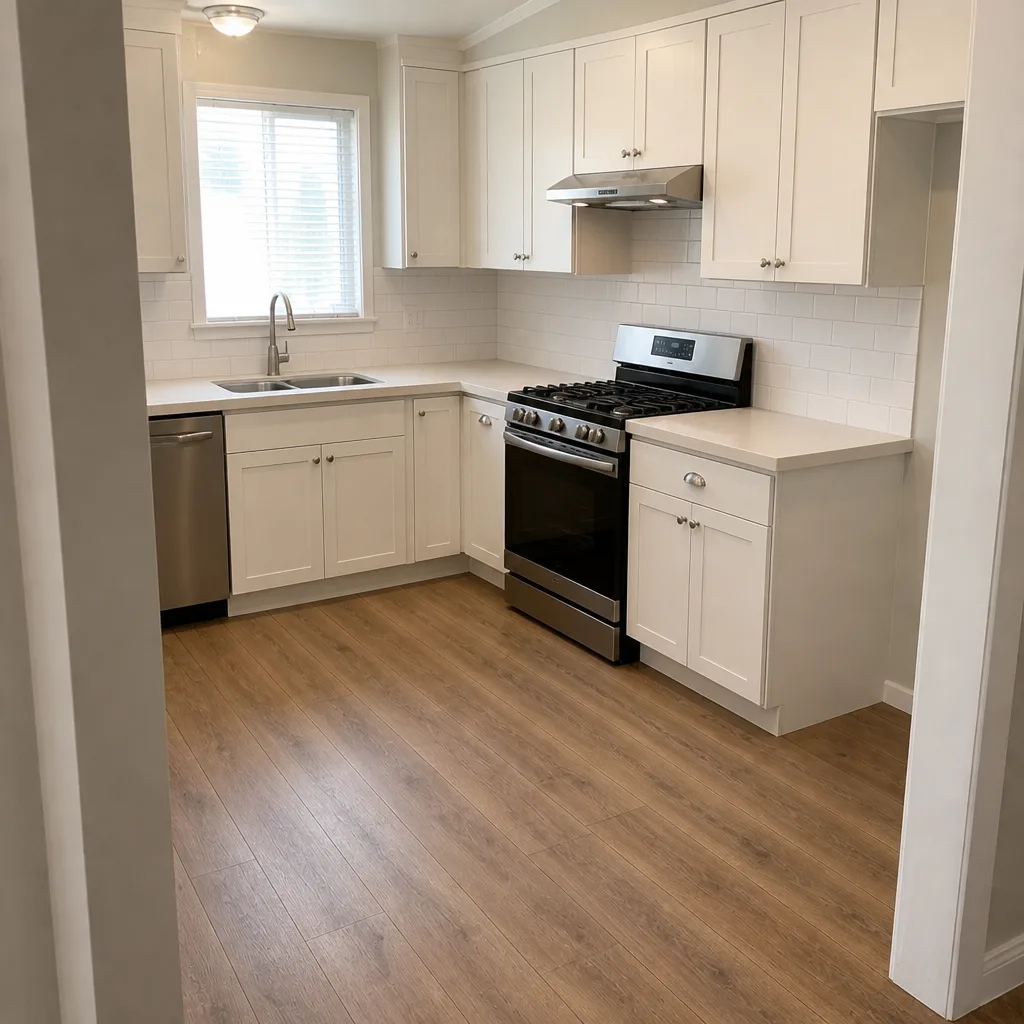 After
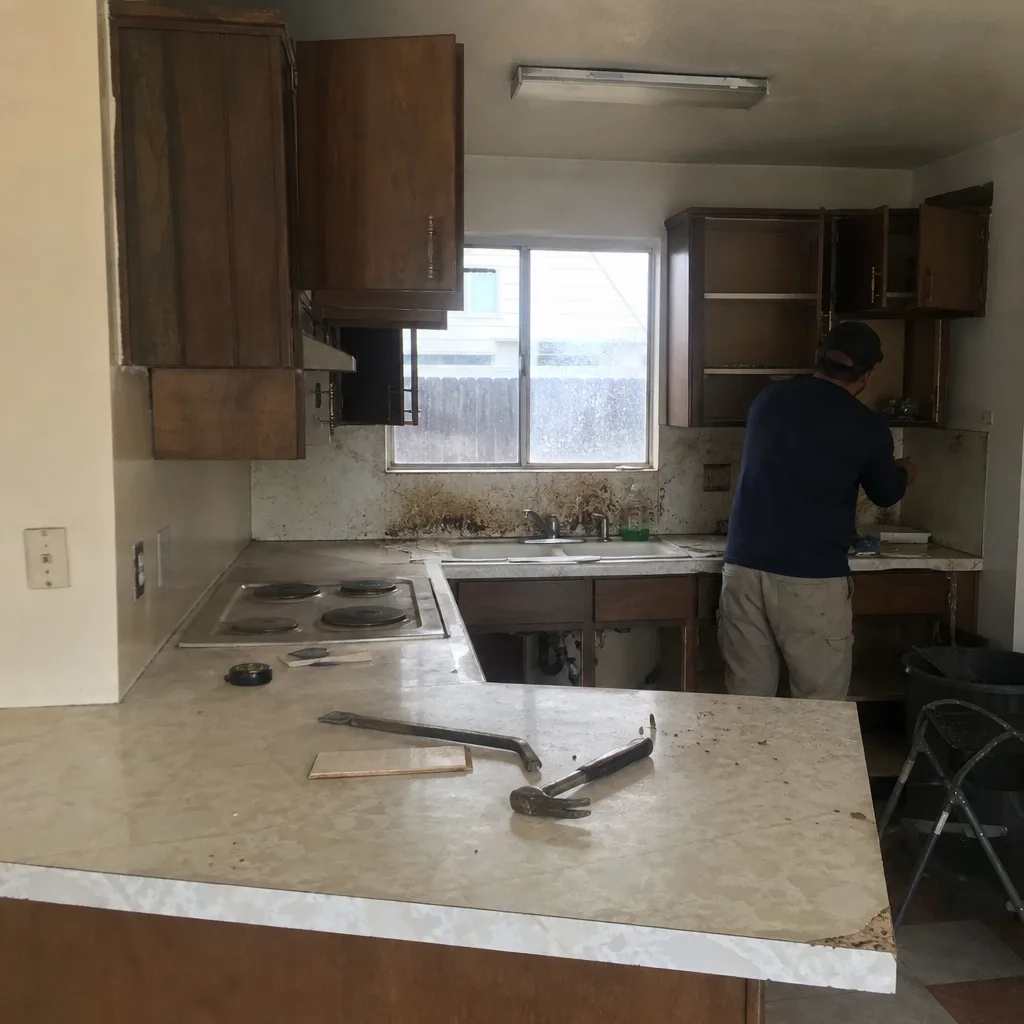 Before
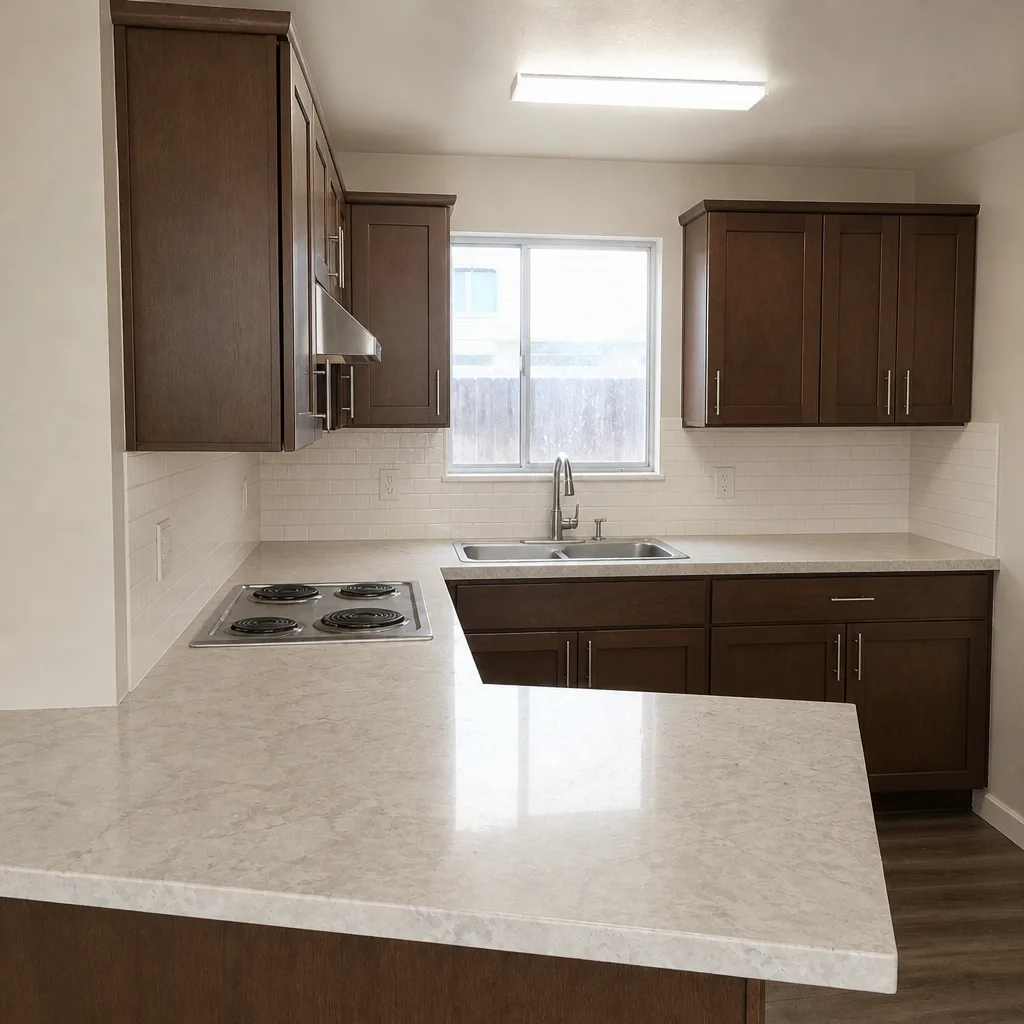 After
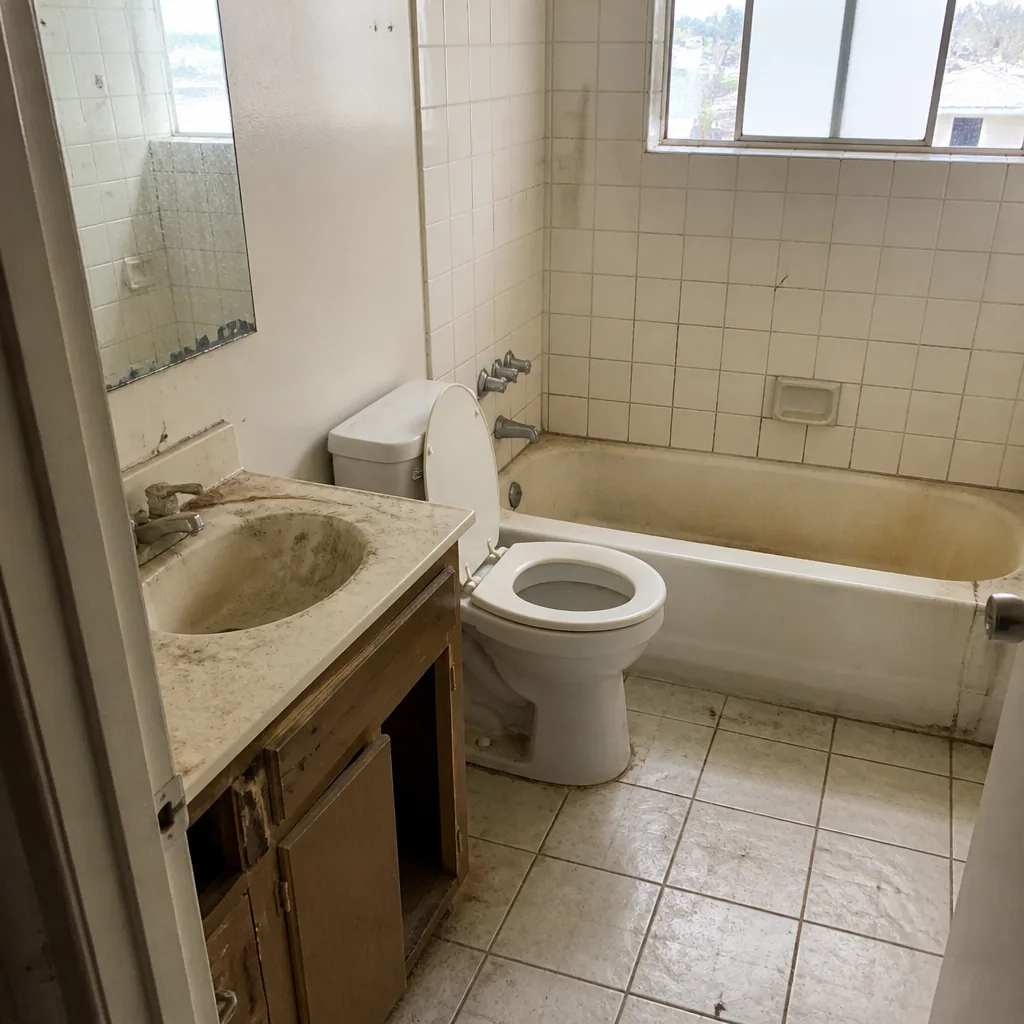 Before
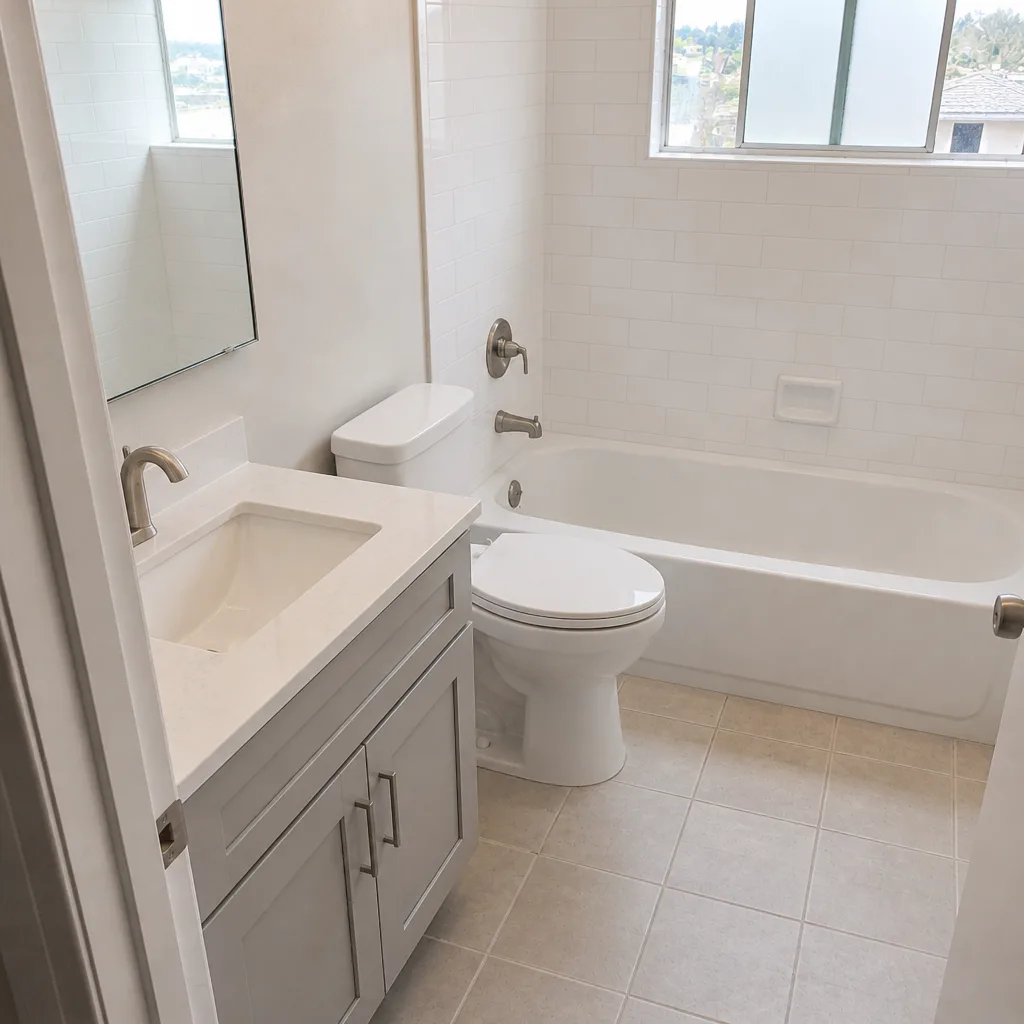 After
When to Call a Professional
Call a professional when the problem is under the surface. That means any sunken section, any rocking paver that returns after a sand refill, any edge restraint that’s moved or failed, and any spot where a leak has caused erosion under the pavers. It also means any repair that’s been attempted once and returned to the same place. Those are all signs the base needs work, and that’s a job for a crew with the right equipment and the knowledge to rebuild what’s underneath. We also hear from homeowners who want a second opinion before a tear-out, which is one of the most useful calls you can make. Construction Antioch offers free estimates in Antioch. Call (866) 811-9694 to schedule yours. We answer 24/7. Fast dispatch from 7am to 7pm, Sunday through Friday.
Frequently Asked Questions
Sunken pavers in Antioch almost always come from a base issue or water erosion underneath the stones, not from the pavers themselves. The wet winter and clay-heavy soil make base movement more likely, because water that can’t drain away from the driveway finds a weak spot and carries the base material out. If the same dip comes and goes with the seasons, it’s a base problem. Call (866) 811-9694 for an exact quote before you do anything else. Estimates are free.
Efflorescence is cosmetic and harmless when it fades on its own, but persistent efflorescence that returns to the same spot after every wet season points to a moisture problem that will keep returning until the water source is fixed. Cleaning the surface doesn’t stop it. If yours comes back year after year, it needs a diagnosis, not a scrub. Call (866) 811-9694 to schedule a free estimate.
There’s no fixed number because the cost depends on which root cause you have. A joint sand refill is a small job, a section re-lay is more, and a full base rebuild is a full project. A written line-item estimate is the only number that means anything, and it’s what sets the final price. Call (866) 811-9694 for an exact quote. Estimates are free.
You can, and if the bedding below is intact and there’s no base movement, it’s a reasonable DIY fix. When the base has moved or water has eroded under the surface, resetting the pavers only buys time, because the cause stays in place. It’s a good idea to have the cause checked before you pull anything up. Call (866) 811-9694 for an exact quote.
A failed edge restraint shows up as a widened joint along the perimeter, a cracked or lifted edge paver, or a restraint channel that’s come loose from the ground. The fix is a re-set or replacement of the restraint with the edge pavers re-laid against it, and it’s not a patch over the surface. Call (866) 811-9694 to talk it through. We can work with your insurer if the damage connects to a covered event.
No, if the estimate was written after a proper diagnosis. The written line-item estimate sets the final price, and that’s why we check the base and edge before quoting, not after. The only honest way to avoid a change order is to look underneath first. Call (866) 811-9694 for a free estimate built on a real inspection.
The Bottom Line
Almost every paver driveway problem in Antioch comes down to one of five causes, and the visibility of the symptom tells you very little about the size of the fix. Sunken sections and rocking pavers mean base and sand. Cracked and separated edges mean restraint. Recurring efflorescence means water. The single most useful thing you can do is insist on a diagnosis before a quote, because that’s the step that keeps a few-hundred-dollar repair from becoming a full re-do. You’ve got a sound process for reading your own driveway now. Use it, and if the answer points under the surface, that’s the moment to call.
Our technicians have up to 13 years of experience, and our team works across Construction Antioch on everything from driveways and fences to windows, roofing, kitchens and additions, so the drainage, the pavers and the house are considered together. We work with a wide portfolio of recognized manufacturers, including Techo-Bloc and Belgard, so material choices are driven by your priorities rather than what’s sitting in a yard. Call (866) 811-9694 for a free estimate. We answer 24/7. Fast dispatch from 7am to 7pm, Sunday through Friday.
Written by the team at Construction Antioch.